Dust-free sanding in bodywork: the step-by-step method
Owning an extraction unit is not enough to sand without dust. A misaligned disc, a sander lifted while running or a clogged filter, and the dust is back in the workshop. Here is the method, from plugging in to the last pass of the hand block.
Before sanding: check the extraction
Dust-free sanding starts before you switch the sander on. Check the level of the tank or bag: a full tank or a clogged filter cuts suction long before anyone notices. Make sure the hose is neither crushed nor split, and that the fittings are pushed fully home on the sander and on the unit.
Then set the suction power for the job. With a coarse grit on filler, use full suction. For finishing, or with a hand block, turn it down a little so the tool doesn't stick to the panel and stays easy to guide. If the unit starts automatically with the tool, check that this function is switched on: it is what prevents sanding "just for a second" without extraction.
The right abrasive and the right pad
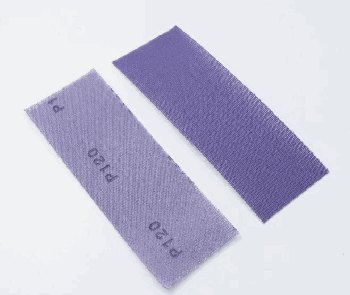
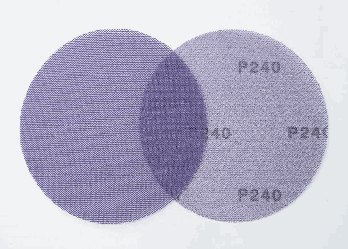
Dust only reaches the unit if air can flow. With a perforated disc, the holes in the disc must line up with those in the pad; a 6-hole disc badly centred on a multi-hole pad blocks half the passages. Net-backed abrasives solve the problem: air flows through the whole surface whatever the position, and the grit clogs far less.
Between pad and disc, a soft interface pad helps follow curves without marking, provided it is also perforated or net-backed. Change the disc as soon as it stops cutting: a worn abrasive heats up, smears the filler and makes you press harder, which crushes the dust instead of extracting it.
Abrasive grits for bodywork: from P80 to P3000
The technique: flat, without forcing
The simplest rule is also the most forgotten: put the sander flat on the panel before starting it, and stop it before lifting it. A sander spinning in the air throws dust sideways, out of reach of the extraction, and marks the panel as it lands.
Keep the pad flat while sanding. Tilting the machine to "attack" a defect concentrates the effort on the edge, digs into the repair and opens a path for dust under the disc. Let the machine do the work with light, even pressure, and move it in overlapping cross passes.
The stages of a repair, dust-free
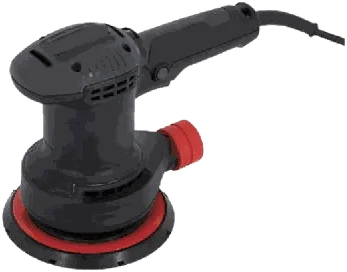
On filler, rough out with a long-stroke sander, around 5 mm, in P80 then P120 and P180, always with extraction. P240 finishes the filler and keys the surrounding area before primer. Dry extracted sanding has one more advantage here: no water in the polyester, so no risk of blisters later.
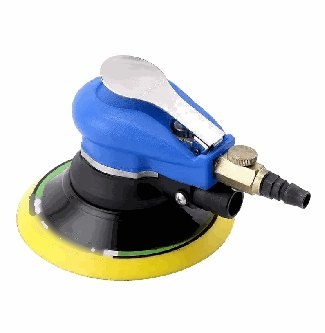
On primer, switch to a short stroke, around 3 mm, in P400 to P600 depending on the colour that follows. A coat of dry guide coat shows the low spots and remaining scratches. On large flat surfaces, a rectangular sander or a long extraction hand block keeps the surface straight.
- Filler: P80, P120, P180, 5 mm sander
- End of filler and surrounding area: P240
- Primer: P400 to P600, 3 mm sander
- Flat surfaces and hand finishing: extraction hand block
Dust-free hand sanding
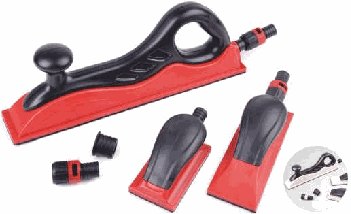
Hand finishing is often the last source of dust in an equipped workshop. An extraction hand block connects to the same hose as the sander: dust goes through the perforations of the abrasive and into the unit. It is essential for edges, flat surfaces and touch-ups in areas the machine cannot reach.
For cleaning before painting, vacuum the part rather than blowing it off with an air gun, then finish with a tack cloth. Blowing puts the finest dust back into the air, and it settles in the clear coat an hour later.
The mistakes that put dust back into the workshop
Most workshops that "have extraction but still have dust" make one or more of these mistakes. None of them is expensive to fix.
- Starting or lifting the sander while it runs
- Perforated disc misaligned on the pad
- Full tank or clogged filter
- Extraction switched off for a quick sand
- Hand sanding without an extraction block
- Air gun to clean the part or clothes
Dust-free sanding: health, quality and choosing an extraction unit
Dust-free sanding with Humming
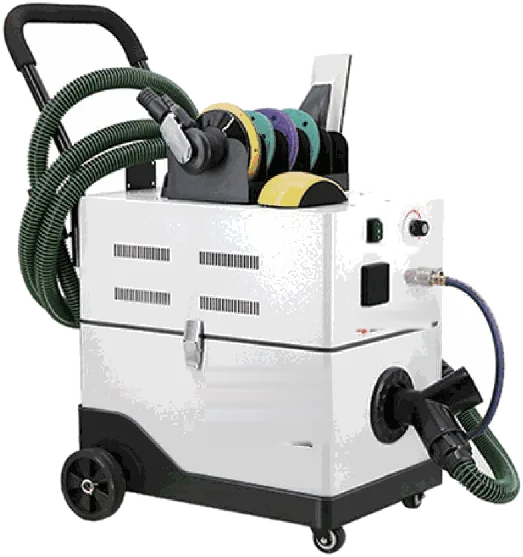
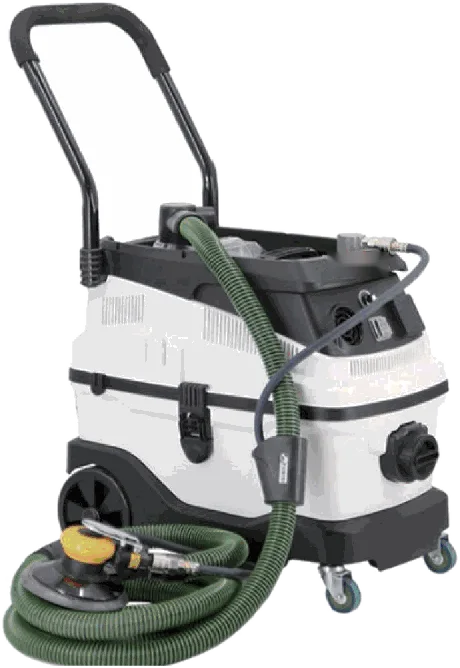
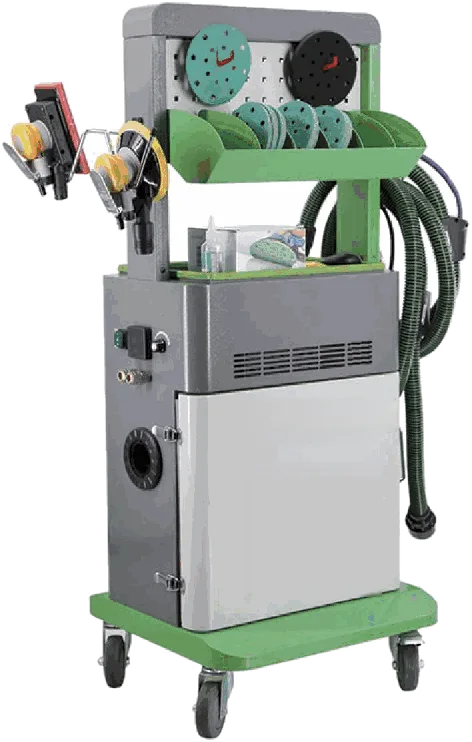
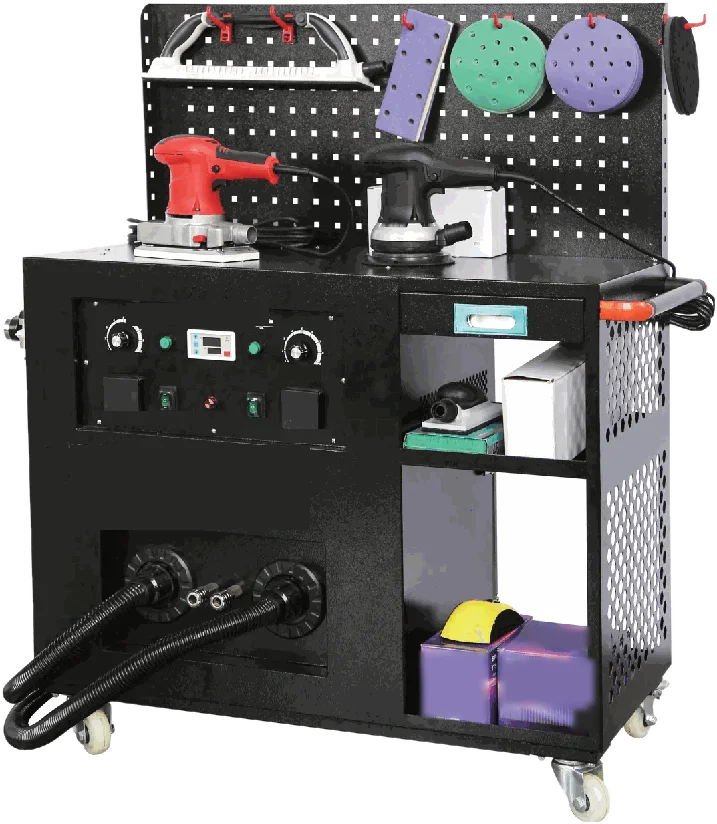
Humming Equipment offers the HE-P301 mobile extraction unit and the HE-P302 compact sanding vacuum, the HE-P304 station on a rolling cabinet and the HE-P305 sanding workbench. For tools, the HE-P306 electric sanders and OUT-103 pneumatic sanders, the ABR-107 extraction hand block and the ABR-117 and ABR-118 net abrasives. Pads, interface pads, filters and wear parts are grouped under HE-A703. Your Humming distributor can show you the pneumatic and electric packs.
Frequently asked questions
Can you sand dust-free without an extraction unit?
At the very least you need a sanding vacuum connected to the sander or the hand block. A compact vacuum is enough for one workstation; a larger unit is more comfortable when several technicians sand during the day.
Why does my extracted sander still leave dust?
Most often: disc misaligned on the pad, full tank or clogged filter, split hose, or sander started and lifted in the air. Check these points in that order.
Should filler be sanded dry or wet?
Dry, with extraction. Wet sanding lets moisture into polyester filler and can cause blisters after painting. Water keeps its place for fine finishing in the clear coat.
Do you still need a mask with an extracted sander?
Extraction captures most of the dust at the source, but a mask is still recommended for sanding, especially for long jobs or overhead work. The two go together.
Which abrasive should you choose for dust-free sanding?
A net-backed abrasive, which lets air through the whole surface, or a perforated disc whose holes match those of the pad. The grit then depends on the stage: P80 to P240 on filler, P400 to P600 on primer.
The values given here are workshop guidelines. The product's technical data sheet always takes precedence.