Abrasive grits for bodywork: from P80 to P3000
You can have the best clear coat on the market, but if the sanding underneath isn't done right, it will show. Choosing the grit, and the order you work through them, decides the final quality as much as the paint itself.
Understanding P grading
The number after the P indicates how fine the grit is under the European FEPA standard: the higher it is, the finer the grit. A P80 removes material quickly and leaves deep scratches. A P2000 does little more than matt the surface. In between, each step has only one job: to remove the scratches from the previous one.
The golden rule is not to skip too many grits at once. As a general rule, you don't more than roughly double the grit between two steps, otherwise you spend ages trying to remove scratches that are too deep with a grit that's too fine. P80, P120, P180, P240: each jump is reasonable. Going straight from P80 to P320 is almost guaranteed to leave scratches showing under the primer.
Repair work: P40 to P240
Very coarse grits, P40 and P60, are for stripping old paint or filler, and for preparing metal before filling when there's rust. On everyday bodywork, P80 is the most common starting grit: it gives the filler a good key and shapes the filler quickly.
Then refine with P120, followed by P180 to bring the surface closer to its final shape. P240 finishes the filler and keys the surrounding area before primer. For more aggressive stripping or welds, move to a grinder with flap discs or non-woven stripping discs, which work without overheating the metal.
A tip that seems obvious but quickly gets lost in the pace of the workshop: change your disc in time. A worn P80 no longer cuts — it polishes and heats the filler. You press harder to compensate, dig into the repair and end up spending more time than with a new disc. A disc costs little compared with ten minutes of labour.
Primer and flatting: P320 to P800
High-build primer is generally sanded between P400 and P600. P400 to P500 under a solid basecoat, P500 to P600 under a metallic or a light colour, which shows marks more easily. When wet sanding, a slightly coarser grit is often used, because water gives a finer scratch for the same grit.
For flatting old paint before refinishing a complete panel, you work at around P500 to P800, depending on the system. On blend areas, where the basecoat and clear will be faded into the existing paint, you'll often go up to P1000 or use a very fine non-woven pad with scuffing paste, so the edge of the blend doesn't show.
- P320 to P400: finishing filler and surrounding areas
- P400 to P500: primer under a solid basecoat
- P500 to P600: primer under a metallic or a light colour
- P800 to P1000: fine flatting and blend areas
Finishing after clear coat: P1500 to P3000
Once the clear has cured, you sand to remove a dirt nib, a run or heavy orange peel. Here you change scale: P1500 to level the defect, P2000 to refine, then P2500 or P3000 before polishing. The finer you finish, the shorter the polishing and the less heat you put into the clear.
By hand, work wet with a small hard block, on the defect only. By machine, use a random orbital sander with a small orbit and a soft interface pad, dry or slightly damp. Go easy on edges: the clear is thinner there and you can cut through it in a few seconds.
Backing, mineral and dry sanding
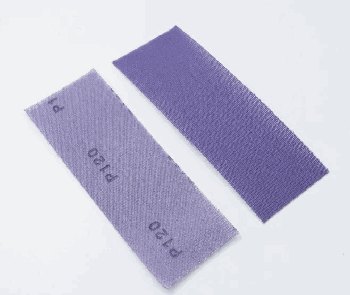
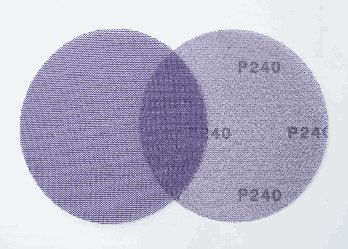
At the same grit, two discs don't behave the same. Aluminium oxide is the all-round mineral in the workshop. Ceramic abrasives keep cutting for longer on hard filler and primer. Silicon carbide, very sharp, is common for fine grits, particularly for wet sanding. Open-coat mesh backings clog less and allow extraction across the whole surface.
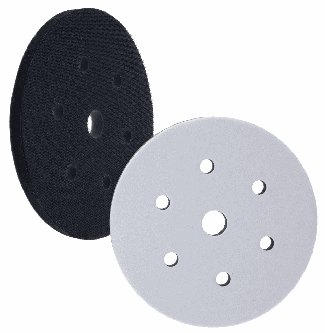
Today, the vast majority of sanding is done dry, by machine, with extraction. It's cleaner, faster and you can see what you're doing. Wet sanding still has its place for fine finishing and correcting defects in the clear. Either way, an interface pad between the backing pad and the disc helps follow shapes and avoids leaving marks.
The choice of machine matters too. A random orbital sander with a large orbit, around 5 mm, removes material quickly: it's for filler and primer. A small orbit, around 3 mm, leaves a finer scratch and suits finishing and blend areas. On large flat areas, a rectangular sander or a long block keeps the surface straight, where a round sander would tend to dig in.
To keep things organised, many shops store abrasives by stage rather than by grit: one tray for filler, one for primer, one for finishing. The painter no longer has to hunt around, and you avoid the P180 disc left on the sander that's used for flatting.
Humming abrasives
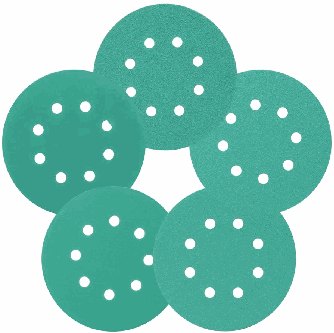
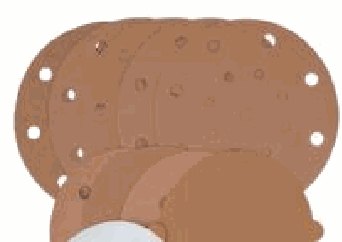
The ABR-113 green film discs cover the whole progression from P40 to P3000, in 5 and 6 inch; the ABR-114 yellow discs go up to P1000. For primer and filler, the ABR-117 and ABR-118 ceramic mesh abrasives, from P80 to P600, are slow to clog. For finishing, the ABR-101 silicon carbide sheets in P1500 and P2000, the ABR-102 and ABR-103 non-woven pads, and the ABR-111 interface pad for the machine. Your Humming distributor keeps the common grits in stock.
The values given here are workshop guidelines. The product's technical data sheet always takes precedence.