MIG welding and spot welders in bodywork: thin panels
Replacing a sill, a rear wing or a rear quarter panel inevitably means welding. On 0.7 or 0.8 mm sheet, the margin for error is small: too hot and you blow holes and distort the panel; too cold and the weld won't hold. Here are the settings and techniques that make the difference.
Spot welder or MIG: each has its place
Body shells leave the factory assembled very largely with resistance spot welds. When replacing a panel, the logic is to reproduce these joints with a spot welder, as close as possible to the original. The manufacturer's repair method generally specifies where to spot weld, where to MIG plug weld, and sometimes where to bond or rivet.
MIG remains essential where the spot welder can't reach, for plug welds through a drilled panel, for butt joints and for all repairs that don't reproduce an original joint. A well-equipped bodyshop has both.
Setting up a MIG welder for thin sheet
In bodywork, you most often work with 0.6 or 0.8 mm steel wire and an argon/CO2 mixed shielding gas. Gas flow is usually set at around 8 to 12 litres per minute; more isn't better, as too high a flow creates turbulence that draws in air. The wire data sheet and the welder's manual give the recommended ranges.
On a synergic welder, you select the wire diameter, the material and the thickness, and the machine suggests a matching voltage and wire speed. You then fine-tune by ear: a stable arc makes a steady crackle, like bacon frying. Popping and spatter often point to wire speed too high or voltage too low. Pulse mode, when the welder has it, helps a great deal on very thin sheet because it limits heat input.
The 2T and 4T modes have their own logic too. In 2T, the welder welds as long as you hold the trigger: this is the mode for tacks and thin sheet. 4T, which maintains the arc without keeping the trigger pressed, is used for long runs on thicker parts.
The stitch technique
On a body panel, you don't run a long continuous bead. You place spaced tacks and gradually join them up, alternating areas: one tack on the left, one on the right, one in the middle, and so on. Each tack has time to cool before the next one goes on. It's the best defence against distortion and panel warping.
Never cool steel with water or a cold air blow gun: the thermal shock makes the weld brittle. Let it cool naturally while you move on to work elsewhere. For a butt joint, an even gap of about the sheet thickness and well-placed clamps do half the work. For a plug weld, drill the top panel, start at the bottom and work up in a spiral.
Preparation matters as much as the settings. Weld on clean metal: paint, seam sealer and zinc must be removed at the weld, otherwise the arc becomes unstable and the bead fills with porosity. A clean nozzle, a contact tip matched to the wire diameter and a liner that doesn't drag on the wire feed prevent a lot of uneven welds. After welding, grind flat without heating the panel, then restore the protection: primer, seam sealer and cavity wax wherever the original had them.
- 0.6 or 0.8 mm wire, argon/CO2 mix
- Spaced tacks, placed alternately
- Natural cooling, never water
- Test on offcuts before welding the part
Using a spot welder properly
The quality of a resistance spot weld depends on three parameters: current, time and clamping pressure. Microprocessor spot welders set current and time according to the selected thickness, but they don't make up for poorly prepared panels. The mating faces must be bare or coated with a conductive weld-through primer, the electrodes clean and properly aligned, and the panels clamped tight against each other.
Match the number and spacing of the original spots, offsetting them slightly from the old ones. Always do a test on two offcuts of the same thickness, then a chisel peel test: a good spot tears a small button of metal out of one of the panels instead of coming apart. High-strength steels often need pulse mode and higher pressure; the manufacturer's method specifies what is permitted.
Protecting the vehicle during welding
Welding generates currents and fields that can interfere with the vehicle's electronics. Most manufacturers require the battery to be disconnected, sometimes certain ECUs to be unplugged, and the welder's earth to be placed as close as possible to the weld area. Follow the procedure specified for the vehicle. Also protect the glass, seats and neighbouring paintwork from spatter with welding blankets, and check that no loom, foam or tank is behind the weld area.
Welding from Humming Equipment
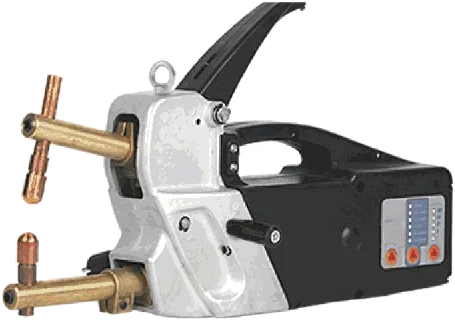
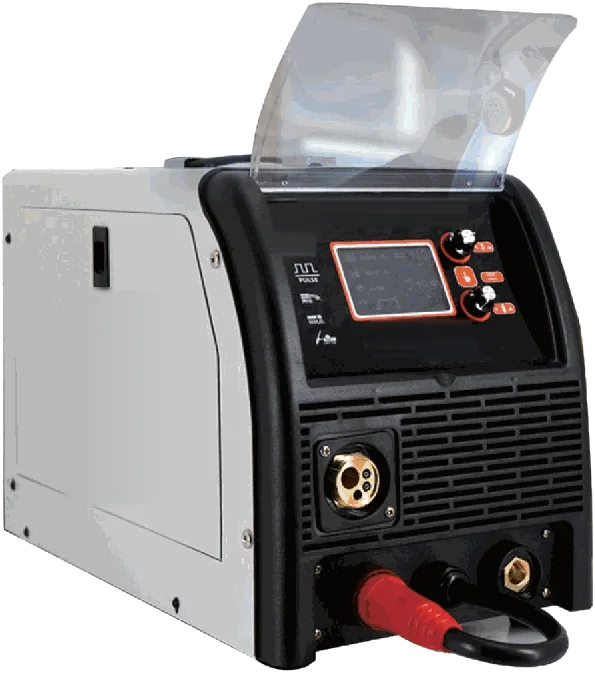
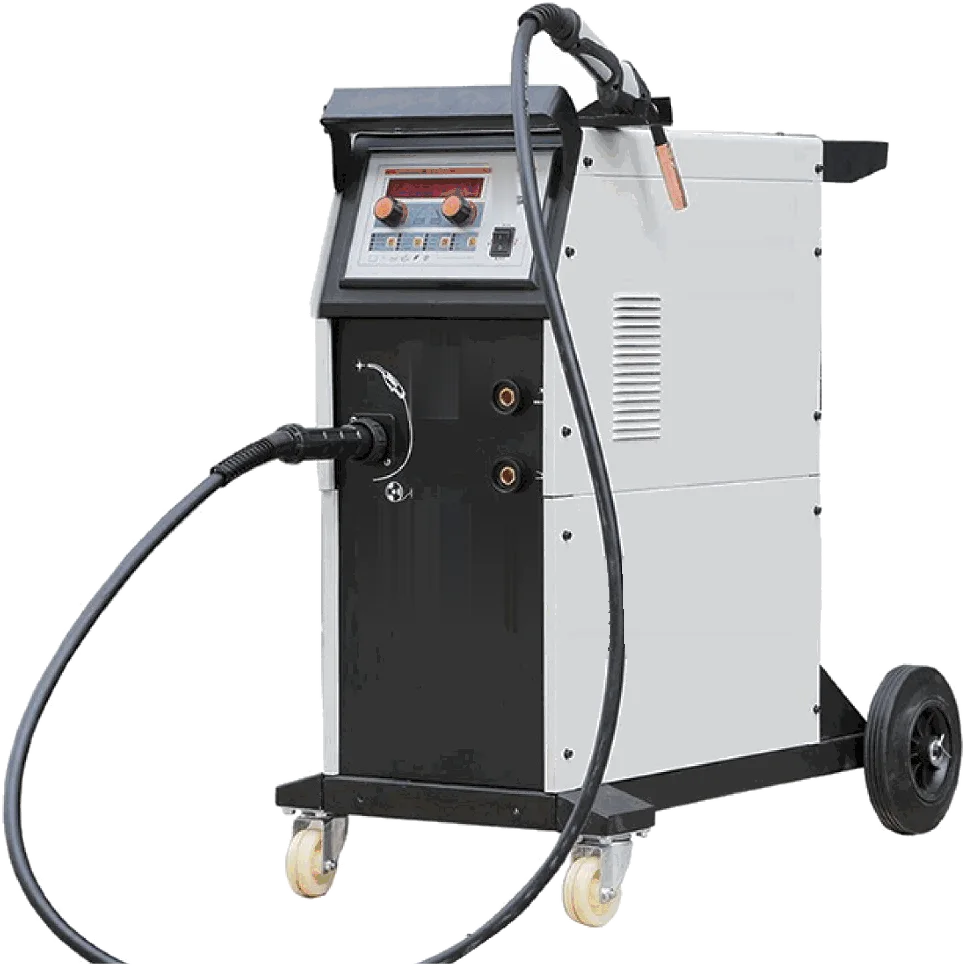
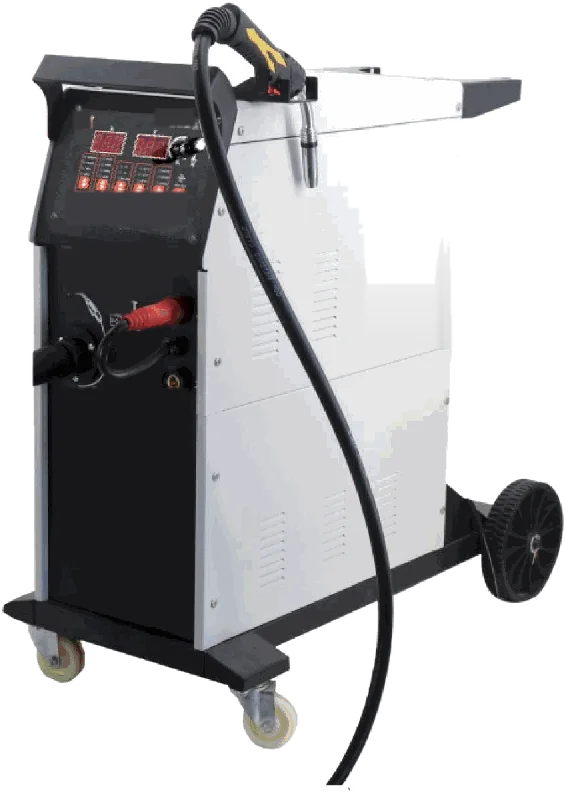
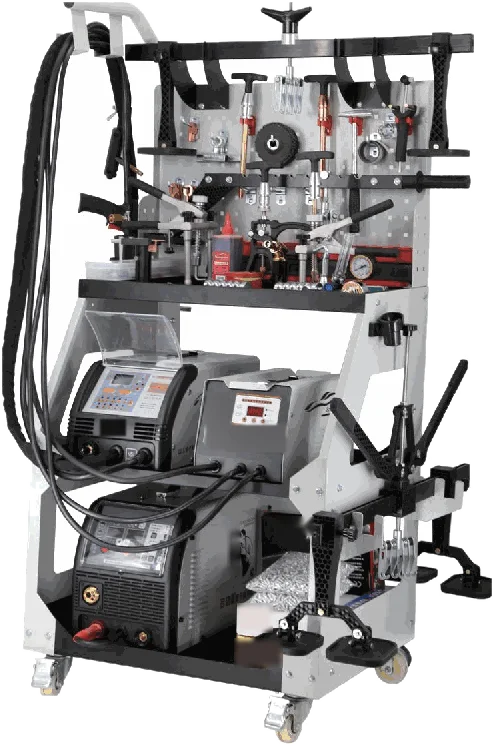
The HE-S201 spot welder (7,000 to 9,000 A, settings from 0.6 + 0.6 to 2 + 2 mm, single or pulsed spot, clamping force from 40 to 120 kg) reproduces original joints. For MIG, the HE-S204 synergic welders are designed for steel bodywork, the trolley-mounted HE-S203 takes 15 kg reels, and the HE-S202 multi-process welder adds a pulse mode for thin sheet down to 0.7 mm and aluminium welding. Your Humming distributor can advise you according to the type of repairs you carry out.
The values given here are workshop guidelines. The product's technical data sheet always takes precedence.