Polishing after painting: runs, dirt nibs and orange peel
Even in a clean booth, there's always a dirt nib, a small run or a patch where the clear hasn't flowed out quite right. Polishing lets you deliver a flawless job — as long as you don't burn through the clear or leave holograms.
Wait until the clear is ready
Polishing a clear that's too soft is a sure way to mark it. After a booth bake, many clears can be polished once they've cooled, but some need longer. After air drying, you'll often wait until the next day, or longer. The clear's technical data sheet tells you when polishing is possible.
A simple test: press a fingernail into an out-of-sight area, under a bumper for example. If the nail leaves a mark, the clear isn't hard enough yet. In the meantime, examine the defect under good light, with an inspection lamp or in daylight, and decide whether it needs sanding or just polishing.
Identify the defect before sanding
A dirt nib is a small, isolated bump. Level it with fine abrasive, right on the spot, using a small hard block, without touching the surrounding area. A run takes more patience. If it's large and still fresh, some painters first shave it with a sharp blade or a run blocker, held flat, to take off the bulk without abrasive. Then block it flat with P1500, checking often, until it's level with the film. Avoid digging into it, because that's when you cut through the clear at its edges.
Orange peel, on the other hand, affects a whole area. If it's light, a pass of cutting compound with a hard pad may be enough. If it's heavy, you'll need to sand the whole surface with P1500 then P2000, keeping a careful eye on film build: sanding out orange peel can remove 10 to 15 µm, and a 50 µm clear doesn't have that much to spare.
- Isolated dirt nib: spot sand with P1500 then P2000
- Run: block flat, checking frequently
- Light orange peel: cutting compound and hard pad
- Heavy orange peel: sand the whole area
Refine the sanding to make polishing easier
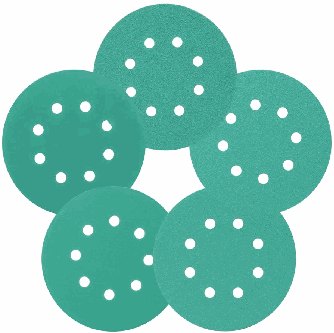
The finer you finish, the less work there is with the polisher. After P1500 and P2000, a pass with P2500 or P3000, by hand or with a random orbital sander and soft interface pad, leaves very faint scratches. You save time and put less heat into the clear when polishing.
A good guide: the sanded area should have an even, uniform matt finish, with no scratch deeper than the rest. If you see an isolated scratch, go back over it with the previous grit before carrying on. A scratch you hope to remove with compound usually ends up as a shiny line after polishing.
Compounds, foam pads and wool pads
Polishing is generally done in two or three stages. A first cutting stage with an abrasive compound and a wool pad or hard foam pad, which removes the sanding scratches. A second finishing stage with a finer polish and a softer foam pad, which removes the micro-scratches and holograms left by the first. Sometimes a third, very gentle stage for dark colours.
The pairing rule: aggressive pad and aggressive product to cut, soft pad and fine product to finish. Don't swap pads between stages — a pad loaded with cutting compound will never finish cleanly. Clean pads regularly while you work, with a brush or with air.
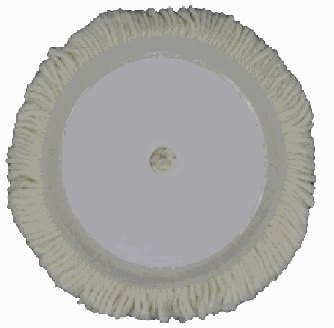
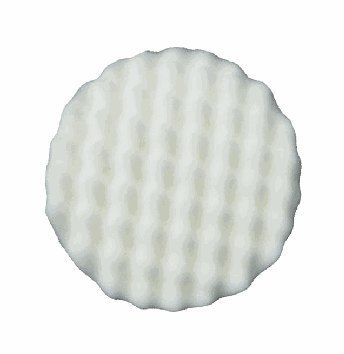
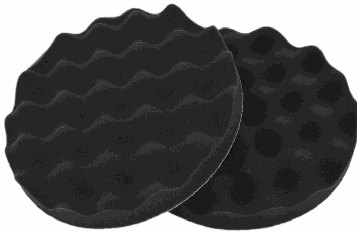
Wool cuts fast and generates little heat, which makes it the go-to pad for removing P1500 or P2000 marks on a large area. On the other hand, it leaves more holograms than foam, hence the finishing stage. Waffle foam pads dissipate heat better and hold less product than flat foam; a concave pad helps keep the pressure in the centre and stops the edge from biting in. On a soft clear or a black paint, a medium cutting foam is a better bet than aggressive wool.
As for compound, use very little: a few small dots on the pad, spread over the area with the machine switched off. Too much compound clogs the pad, slides instead of cutting and slings everywhere. And mask off rubber seals, unpainted plastics and sharp edges before you start: dried compound in a black seal shows immediately and is hard to get out.
Setting up and handling the polisher
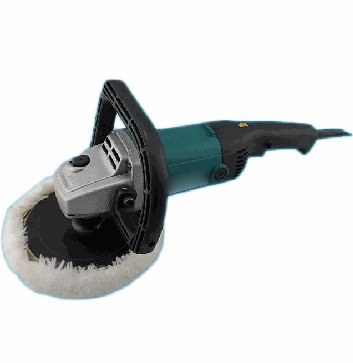
With a rotary polisher, you'll often work between 1,500 and 2,500 rpm for cutting, a little lower for finishing. Start the machine with the pad on the surface so it doesn't sling compound, then make cross-hatched passes over an area of about 50 × 50 cm, with moderate, constant pressure.
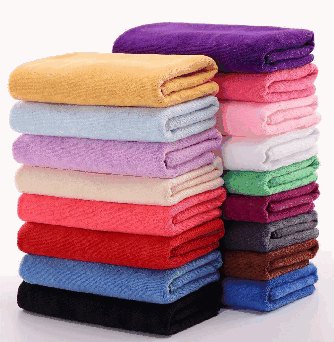
Keep the machine moving, never stationary, and check the heat with the back of your hand. On edges and corners, tilt the pad so the edge of the foam doesn't eat into the clear: that's where burn-through happens most often. To finish, wipe off with a clean microfibre cloth and check under raking light.
Polishing with Humming
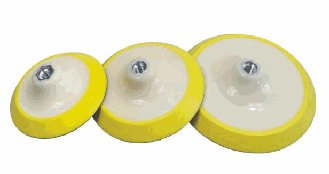
For sanding defects, the ABR-101 silicon carbide sheets in P1500 and P2000 and the ABR-113 discs up to P3000. For polishing, the OUT-101 rotary polisher with variable speed from 600 to 3,000 rpm, the POL-104 wool pad and the POL-106 white waffle foam pad for cutting, the POL-107 black foam pad for finishing, and the POL-109 microfibre cloths for wiping off. The range doesn't include compound: use the one you know with these pads. Your Humming distributor can advise you on combinations.
The values given here are workshop guidelines. The product's technical data sheet always takes precedence.