2K high-build primer: application, film build and sanding
High-build primer is the link between the repair and the paint. It's what fills the sanding scratches from the body filler, isolates the substrate and gives the basecoat an even surface. Applied and sanded properly, you never see it. Get it wrong and it shows through the clear for years.
What you need from a high-build primer
A 2K high-build primer does three jobs. It fills, meaning it fills in sanding scratches and the small imperfections left by the body filler. It isolates, so the basecoat doesn't react with what's underneath. And it provides an even, sandable surface that the basecoat adheres to well.
It isn't body filler. If you rely on primer to fix a visible low spot or a ripple, you'll end up laying on unreasonable film builds that cure badly and eventually shrink back, with sanding marks reappearing a few weeks after the car has gone back to the customer. Shape is sorted with filler; primer finishes the job.
There are several families of primer: very thin adhesion primers, wet-on-wet primers that you topcoat without sanding, and high-build primers that you sand. The last of these is the one for a standard repair, after filler or over an area sanded with a coarse grit. It's also the most forgiving for a shop that wants a clean foundation without multiplying products.
Preparing the substrate before priming
On a standard repair, you start from filler finished at around P240, and a surrounding area of old paint keyed with a finer grit, often P320 or P400, so the primer adheres without leaving a step. If you've gone through to bare metal, check the primer's technical data sheet to see whether it can go straight onto metal or whether you need an adhesion primer or anti-corrosion primer first.
Then a thorough degrease, blow off and mask back from the repair. A good habit is reverse masking, with the tape folded back so the adhesive faces out at the edge, to avoid a hard primer step that you'll then spend ten minutes sanding down. Tack rag just before spraying.
Application: coats, film build and flash-off
Mix according to the technical data sheet: primer, hardener, thinner, in that order, measured with a graduated cup or on scales. For a high-build primer, you generally use a larger tip than for clear, often between 1.6 and 1.8 mm, to handle a heavier-bodied product.
You usually apply two to three coats, either extending each coat slightly beyond the previous one or bringing it in, depending on your method, but always with a flash-off between coats: the film should be matt before the next one. Piling it on in one go gives you a primer that stays soft underneath and traps solvent.
For film build, technical data sheets for high-build primers often give dry values of around 100 to 200 µm, depending on the number of coats. Beyond that, you risk stress in the film, cracking or visible repair marks. If you need more, the filler wasn't finished.
A common trap: primer spreading well beyond the repair. The bigger the primed area, the more you'll have to sand, and the further the basecoat will have to cover, which makes the blend bigger. So the aim is to put primer where it's needed, with a feathered edge, even if that means a second local pass over the filler if one area lacks build. On a small repair, a reduced fan pattern and slightly lower pressure help you stay within the area.
Curing before sanding
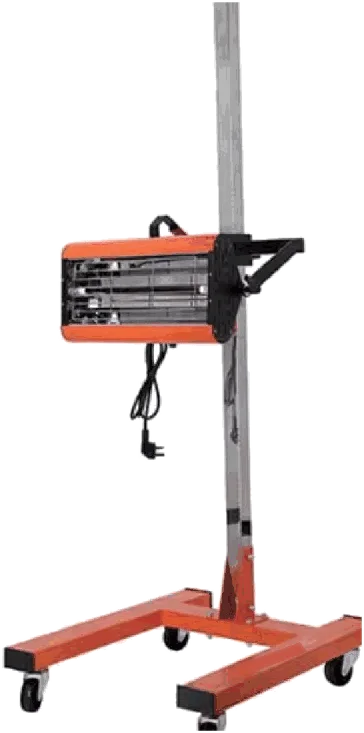
A high-build primer must be fully cured right through before it's sanded. In a booth, a bake at around 60 °C is common practice, and short-wave infrared is very effective on this type of product because it heats the film through its thickness. Air drying, allow several hours, or even overnight in cool weather.
The simple test: a quick rub with fine abrasive on a corner. If the abrasive clogs straight away and balls up, the primer isn't ready. Sanding too early also exposes you to shrinkage: the primer keeps shrinking back after sanding and the scratches reappear under the basecoat.
Sanding the primer: grits and method
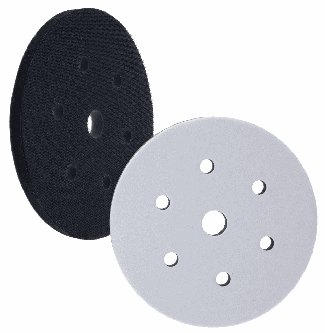
Start with a guide coat — a light dusting of black guide coat powder or dark aerosol paint. As you sand, the guide coat disappears from flat areas and stays in the low spots: that's your map of the defects. On large areas, sand with a block or with a random orbital sander and interface pad, never flat-handed.
For a solid basecoat, you'll usually finish at P400 dry or P500. For a light colour, a metallic or a pearl, you'll often go up to P500 or P600 so the scratches don't show through. Edges and blend areas are finished with a non-woven abrasive pad. If you sand through the primer to the filler or the metal, a small re-prime is better than basecoat laid over an uneven substrate.
After sanding, blow off, degrease with a suitable product and a clean cloth, and check under raking light. A scratch or a pinhole spotted at this stage takes two minutes to fix. Spotted under the clear, it means redoing the whole panel.
- Guide coat every time before sanding
- P400 to P500 under a solid colour
- P500 to P600 under a metallic or a light colour
- Fine non-woven pad on edges and swage lines
From Humming
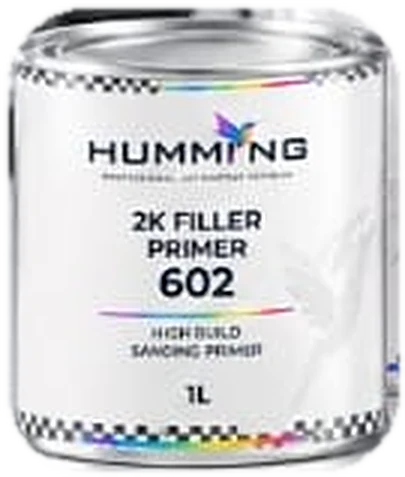
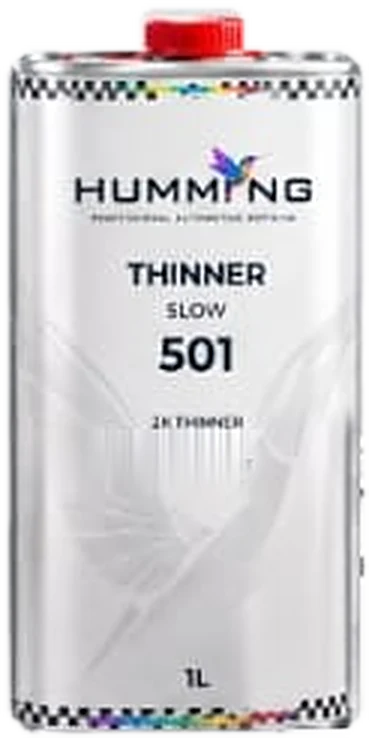
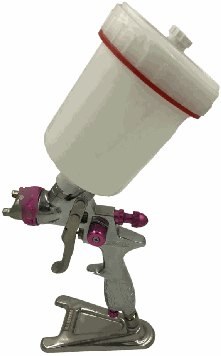
The 602 2K high-build primer (1 L) is thinned with the 501 thinner according to its technical data sheet, and sands easily. For preparation, the ABR-113 green film discs cover all the grits you'll need, the ABR-111 soft interface pad follows curves, and the ABR-102 and ABR-103 non-woven pads finish the edges. The MEL-110 gravity-feed gun with 1.4 / 1.7 mm tips is suitable for spraying primer. Your Humming distributor can put the whole set together for you.
The values given here are workshop guidelines. The product's technical data sheet always takes precedence.