Short-wave infrared drying: principle, distances, gains
Used properly, an infrared lamp can dry filler in a few minutes and get a smart repair out the door the same day. Badly set up, it blisters a primer or burns a plastic part. It all comes down to understanding the principle and a few simple settings.
Short, medium and long wave: the difference
Conventional booth drying heats the air, which heats the surface of the film, then the heat slowly works down through the thickness. The top of the film dries first and can skin over while solvent is still trapped underneath. Infrared, on the other hand, transfers energy by radiation, directly to the product and the substrate.
The shorter the wavelength, the further the radiation penetrates the film before being absorbed. Short waves pass through the coat of product and also heat the substrate, so the film dries both through its depth and at the surface. The solvent can escape upwards instead of being trapped. That explains drying times that are much shorter than with long-wave emitters, often quoted as around three times faster. Another advantage: short-wave lamps reach full power in a few seconds.
Distance and power
The distance between the lamp and the part makes a huge difference to the temperature. Too close and you overheat; too far and you lose most of the efficiency. The lamp's manual gives the working distance, often between 50 and 80 cm for this type of equipment, and the product's technical data sheet often specifies an infrared drying time. Lamps with a laser pointer or distance markers help you get into the right position every time.
Position the lamp facing the surface, square on, not at an angle: a steep angle heats the nearest edge more. On a curved part, check that the closest area doesn't exceed the intended temperature. A probe or an infrared thermometer is a good investment for dialling in your settings at the start.
Colour matters too. A dark shade absorbs more radiation than a light one and so heats up faster at the same setting. On a black, you'll often reduce the power or move the lamp back a little.
The stages: flash-off then curing
Most lamps and technical data sheets provide for two stages. First a reduced-power or pulsed stage, lasting a few minutes, which lets the solvent evaporate gently. Then full power, for curing right through. Going straight to full power on a fresh primer or clear coat is the surest way to make the film boil.
The orders of magnitude speak for themselves. On polyester body filler, a few minutes is often enough to sand. On a high-build primer or a clear coat, you're generally talking ten to fifteen minutes with short wave, compared with three quarters of an hour or more with long wave or hot-air drying. The product's technical data sheet is the reference, and lamps with programmes build these stages in according to the product selected.
- Filler: a few minutes, then sanding
- Primer: flash-off then curing, around 10 to 15 min
- Clear coat: flash-off essential before full power
Pitfalls to avoid
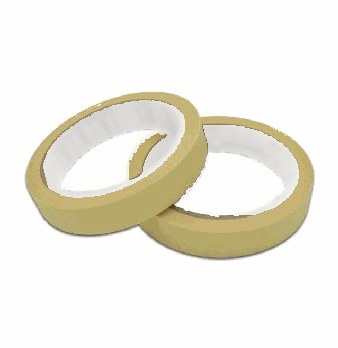
Plastics and bumpers tolerate much less heat than steel. Reduce the power, move the lamp back and keep an eye on the temperature. Watch out for neighbouring parts too: a seal, a headlamp, a door mirror or ordinary masking tape can suffer. A tape designed for high temperatures saves you finding adhesive everywhere after drying.
On a panel with thick filler, infrared speeds up drying so much that it's tempting to sand straight away. Let it cool for a few minutes: warm filler sands badly and clogs the abrasive. Finally, keep the lamps clean. Tubes or reflectors coated in overspray lose efficiency and heat unevenly. So don't leave the lamp in the booth during spraying, and clean the reflectors when cold, with a soft cloth, following the manual.
Sizing the lamp and the electrical supply
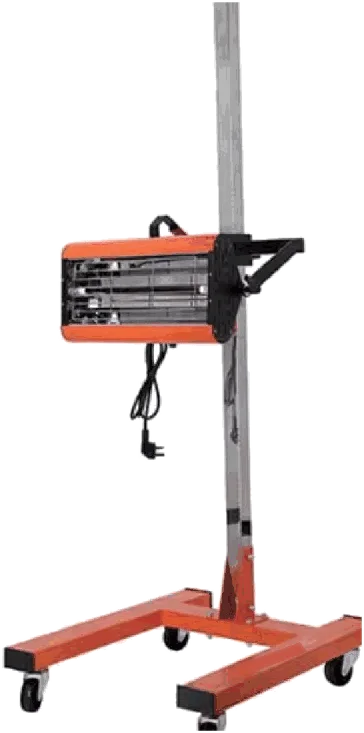
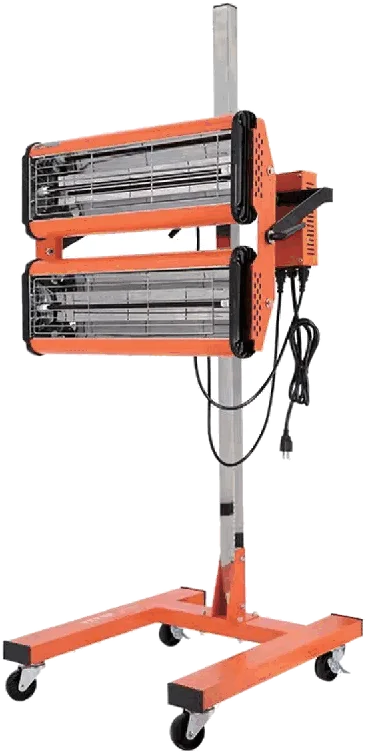
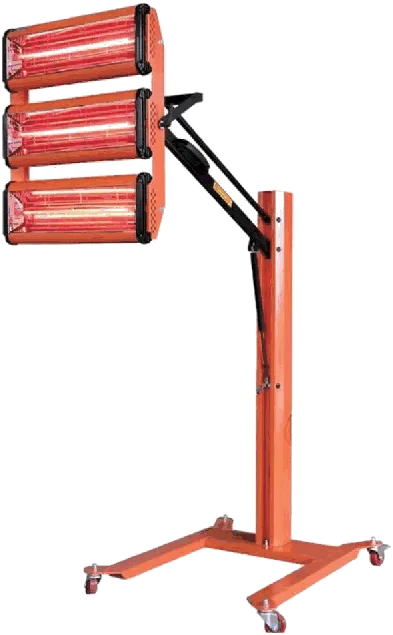
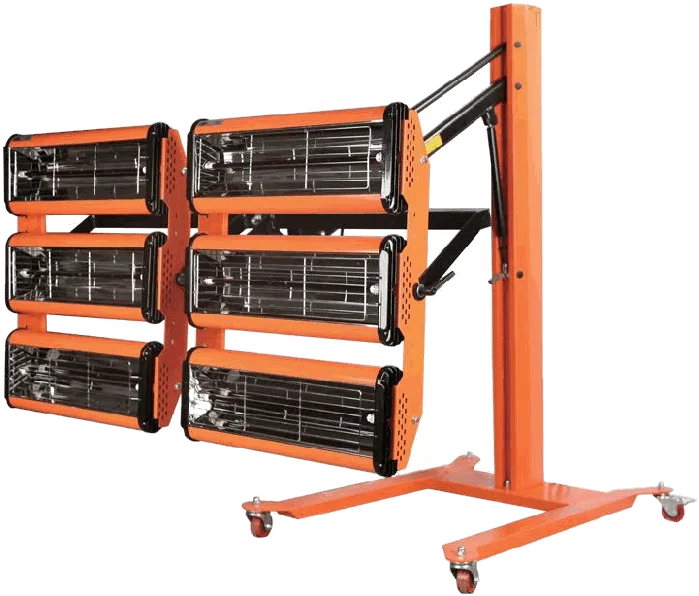
The number of cassettes determines the area dried. One cassette covers a small repair, three cassettes a panel such as a door or a bonnet, six cassettes one side of a vehicle. Look at power consumption too: a lamp drawing several kilowatts needs a suitably rated electrical supply. A lamp that trips the workshop socket every time it starts is not a good buy, however good it is.
For workshops doing a lot of small repairs, a mobile floor-standing lamp with an adjustable arm quickly earns its keep, especially combined with dust-free preparation. You can do filler, primer and sometimes clear coat in the same day without tying up the booth.
That's actually where infrared changes the way the workshop is organised. Without a lamp, a small filler and primer repair often ties up the booth, or waits until the next day to air dry. With a short-wave lamp in the prep area, the part is ready to sand within a quarter of an hour, and the booth stays free for painting. For a workshop that handles a lot of door scratches or bumper scuffs, it often means a day saved per vehicle.
Infrared from Humming Equipment
The range covers every size: HE-L501 with one cassette (500 × 500 mm, with timer or with timer and temperature control), HE-L502 with two cassettes (800 × 800 mm), HE-L503 with three cassettes (1,000 × 1,200 mm, per-cassette control) and HE-L504 with six cassettes (1,500 × 1,500 mm, laser pointer, temperature probe and product programmes on the LCD version). Check the current drawn by each model with your Humming distributor before choosing.
The values given here are workshop guidelines. The product's technical data sheet always takes precedence.